This feature allows you to dye your purchased limited-edition skins.
Dyeing can be applied to two parts: the helmet and the outfit.
Dye colors are applied randomly based on predefined chances when using currency.
If you own a purchased limited outfit,
we recommend customizing it with dyes to reflect your unique personality.
■ Contents
1. How to Enter 'Dye Skin' Screen
2. Skin Dyeing
3. Dye Skin Reset
1. How to Enter 'Dye Skin' Screen
- Open the menu(三) at the top-right corner of the screen and select [Avatar] to enter the Avatar tab.
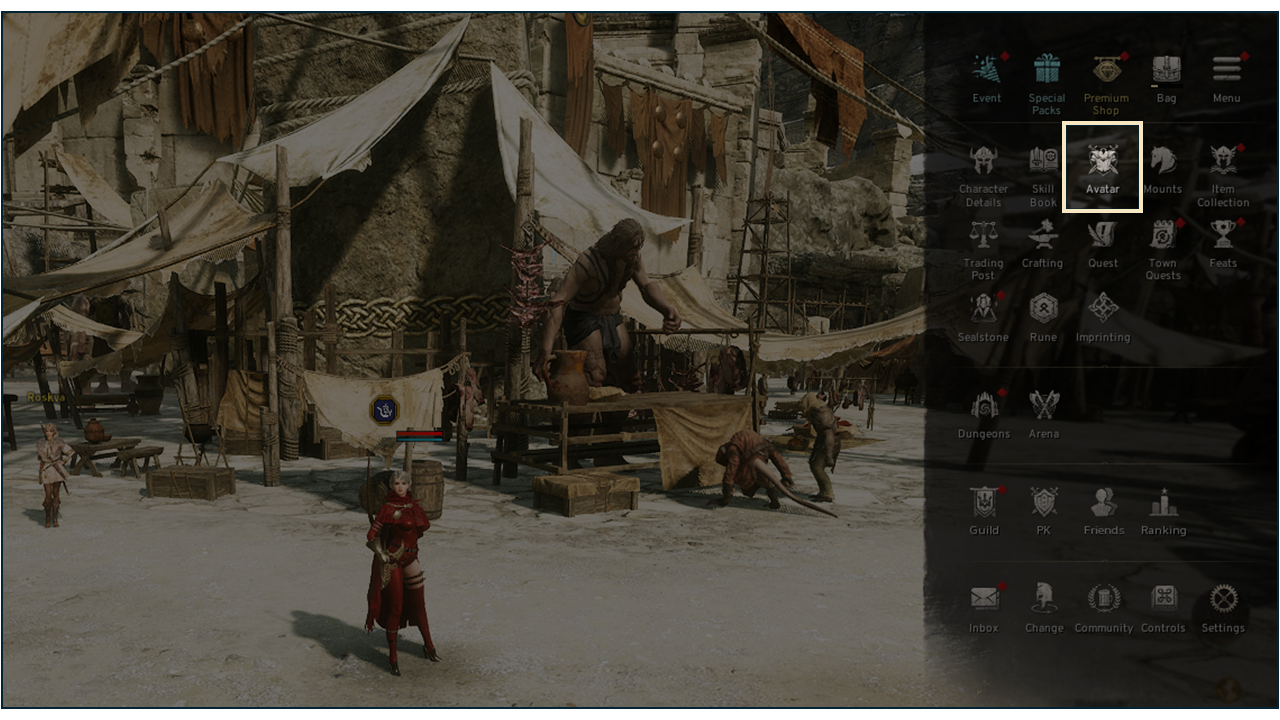
- You can enter [Skin Dye] through [Skin] - [Purchased Limited-edition Skins] - [Skin Dye Button] within the Avatar tab.

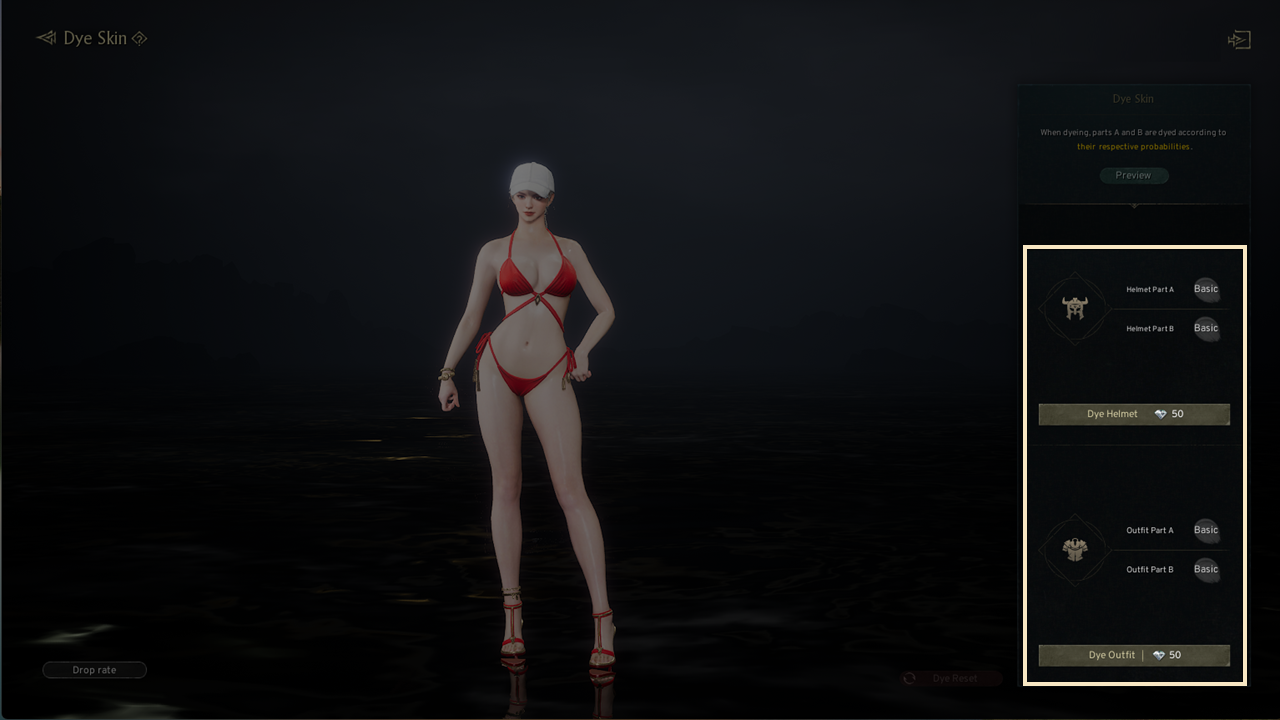
2. Skin Dye
◈ Skin Dye Parts
- Skin dye parts are divided in to Helmet parts(A/B) and Outfit parts(A/B).
- By tapping each color icon, you can see which part will be dyed.
! Certain skins may include sections that do not change color even after dyeing.
(Ex. Sorceress Newcomer Look - Helmet B Part)
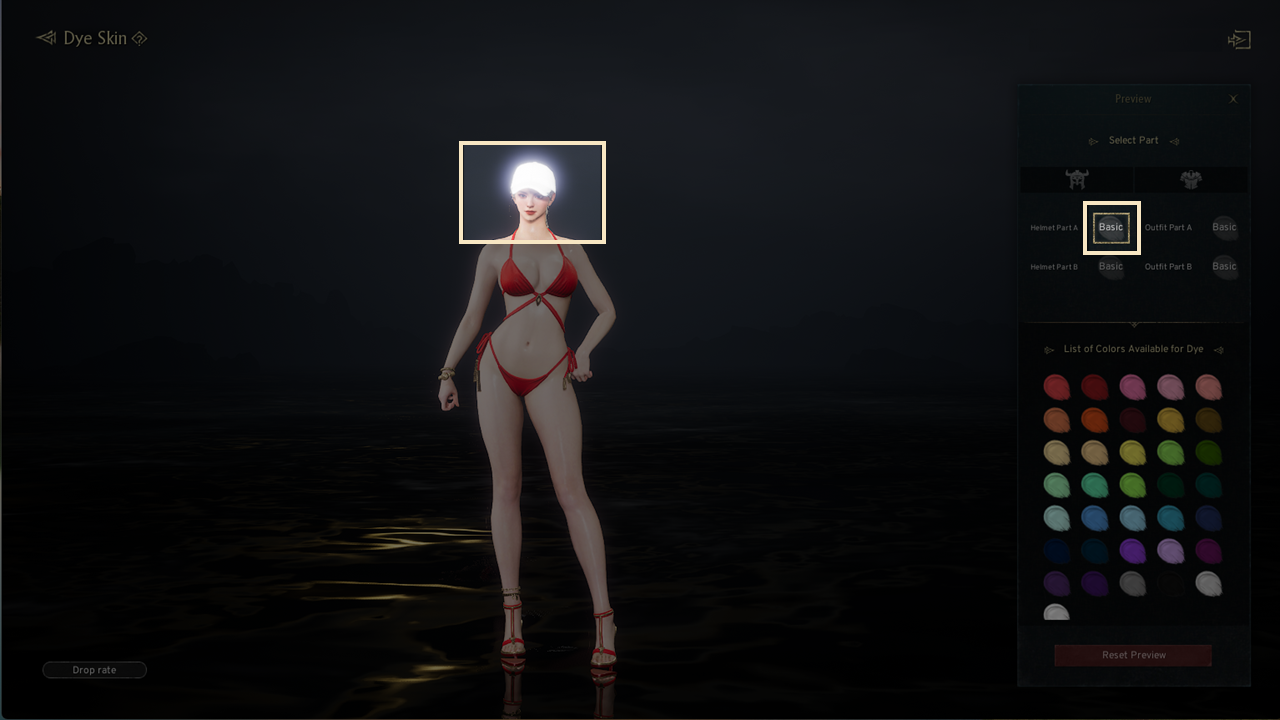
◈ Preview
- When you tap the "Preview" button in the dyeing screen, you can choose colors for each part from the available palette and see how they look together.
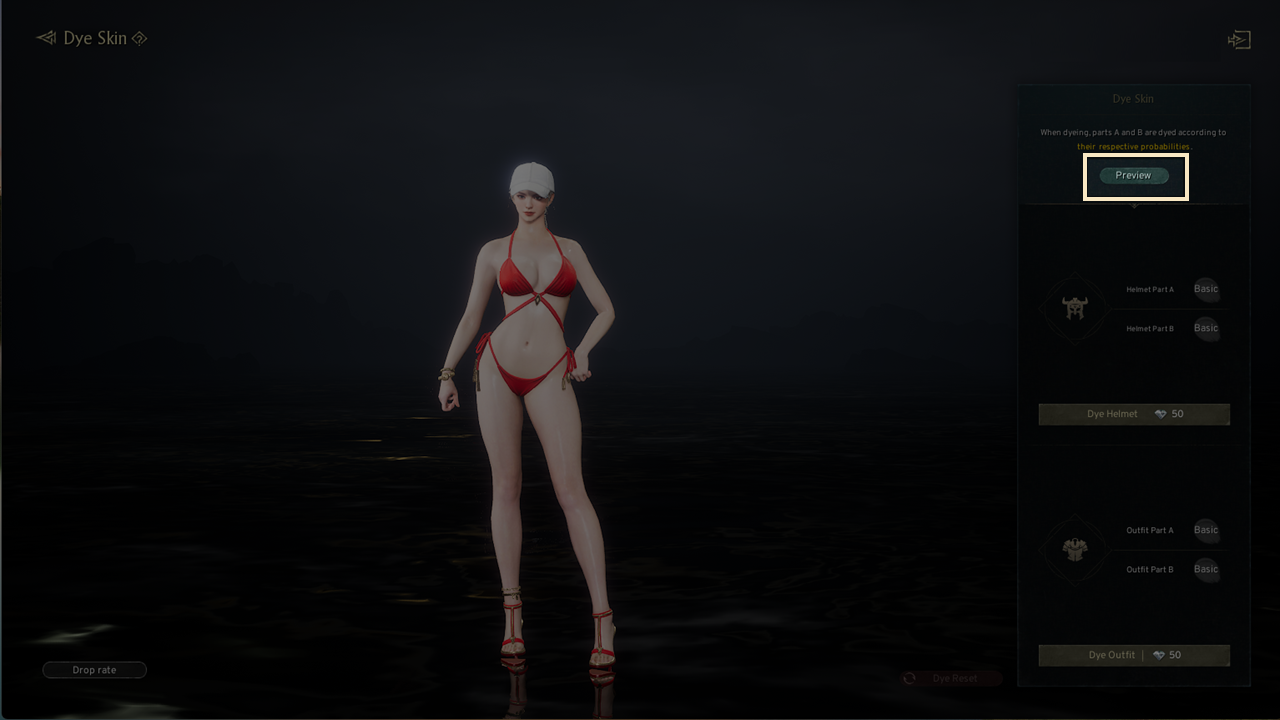
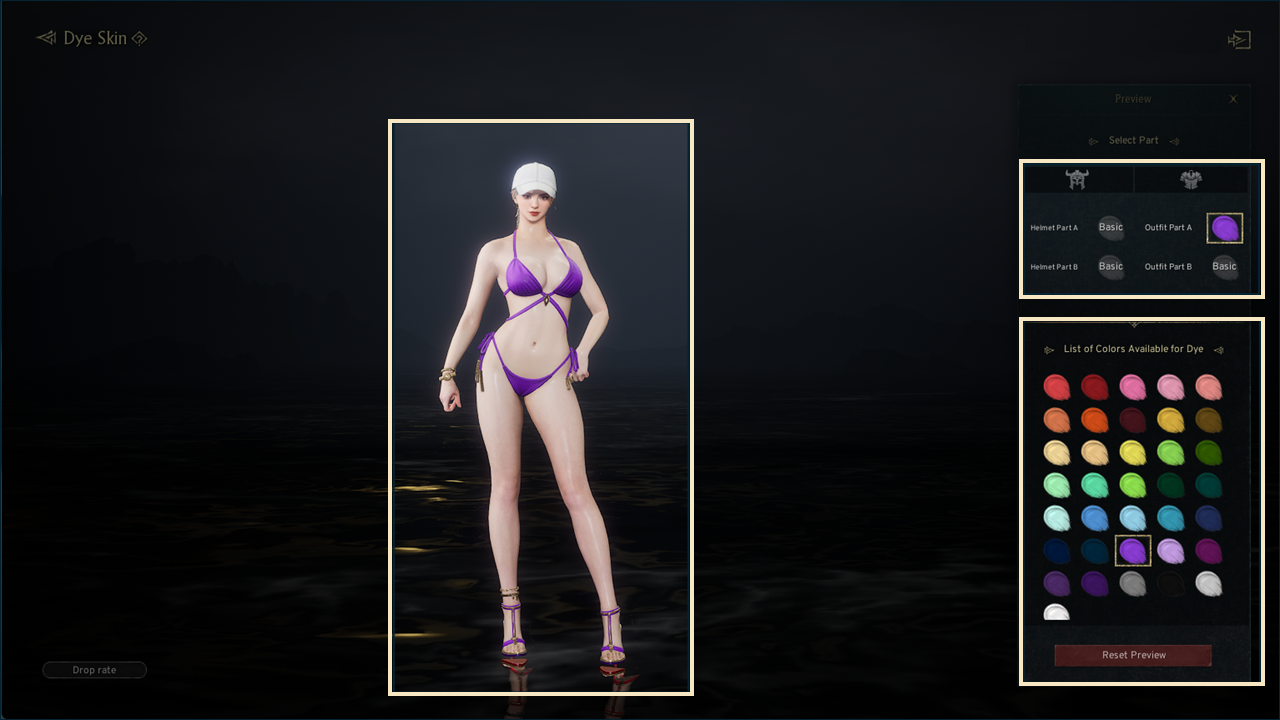
! If you reset the preview or exit the screen, your selected colors will be cleared.
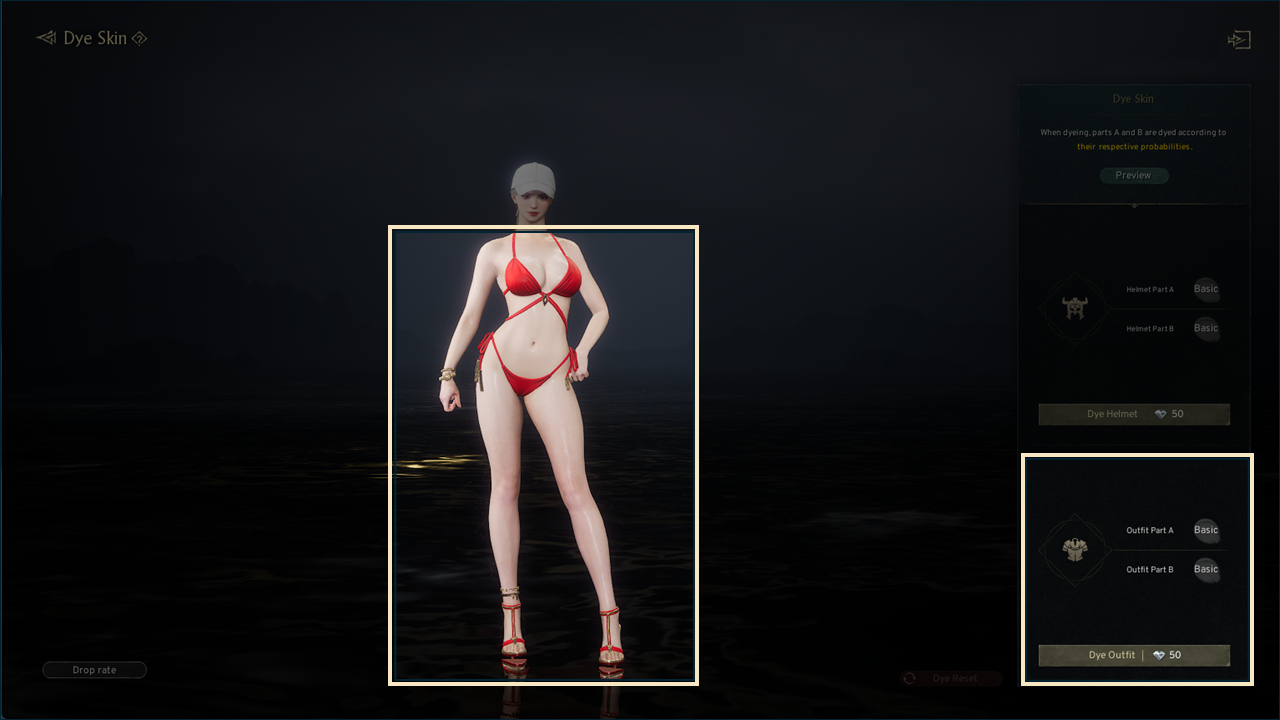
◈ Dye Skin Process
- Dye Skin consumes diamonds.
- You can dye both the helmet and the outfit.
- When dyeing, parts A and B are dyed simultaneously based on set probabilities.
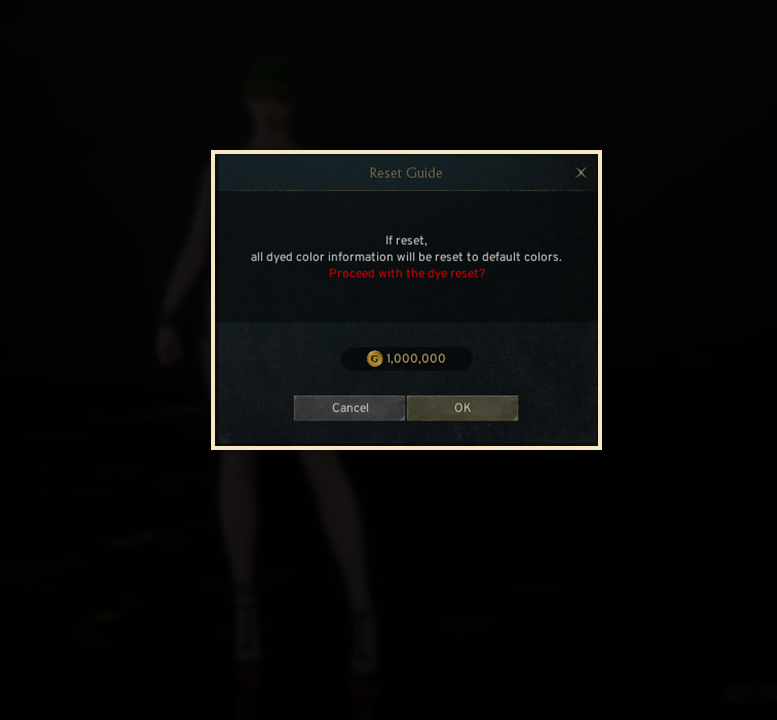
3. Dye Reset
- Dye reset consumes gold.
- When you press the reset button, all dye colors will be cleared and restored to default.